I have recently added Google Adsense to my website and for those of you who have been considering adding it, didn’t’ know about it, or weren’t sure how to add it I am going to share with you the steps I took. It wasn’t too long of a process, and depending on how many ads you want to put on your website, it looks clean on my website and I only had to adjust a little bit of CSS on the pages. Here is my walk through:
– You need a Google e-mail account in order to sign up for Google Adsense.
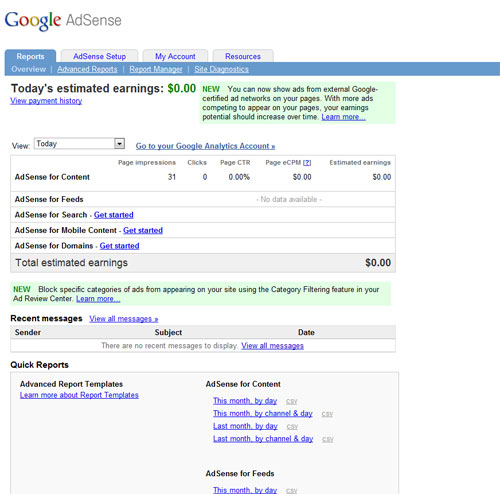
– Go to www.google/Adsense.com and sign into your google account. It will bring you to the Google Adsense homepage. Here is what it should look like (Since I already have it on my site it shows the reports page). I am not sure if that page will show up, but it should look similar to this:
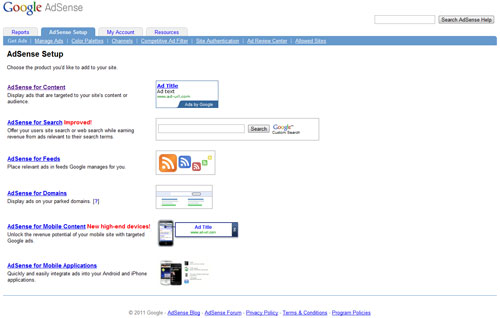
– Next you will want to go to “AdSense Setup.” I selected on “Adsense for Content.” You can choose which option is best for you and your site. 🙂
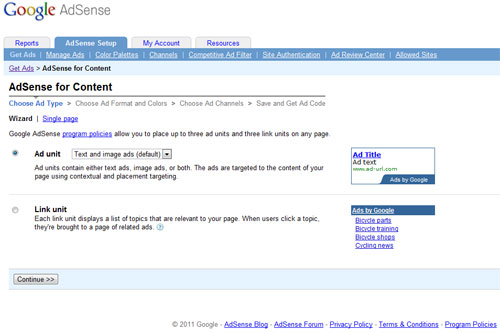
– You will now be taken to the Adsense for Content page. Again, select whatever option you prefer for how the ad will be displayed on your site. I like the ad unit where it will show the text and image on the ad.
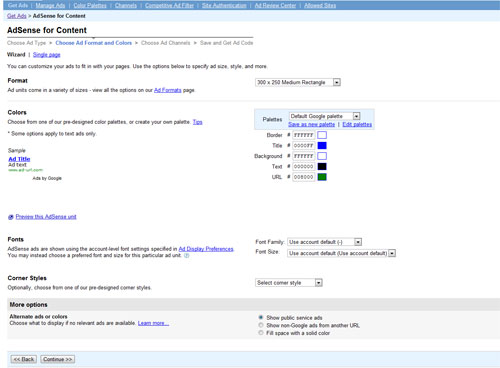
– This next page is where you can customize the look of your ads more. I stuck with the default options for everything, but if you want to get into the nitty gritty you can change the color of the border, text, URL, etc.
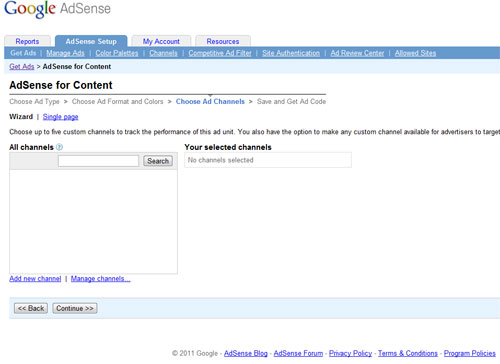
– The next page is to create custom channels. It didn’t seem like something I needed at this time, so I skipped it and continued on. If you find out more about it, how it works, what it’s purpose is, etc let me know. 🙂
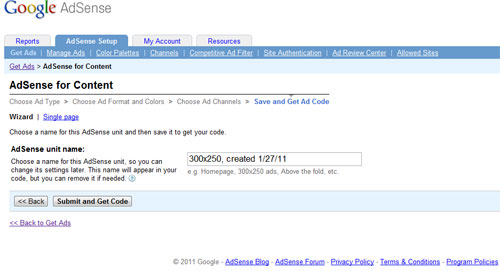
– The final step before you get your adsense code is to name the unit. I left the size of the ad, and removed the date. I haven’t had to use the name anywhere yet, but if you want to add the name name of your website, email address, username, etc those would work. It is more for your reference and so you can easily find it if you need it.
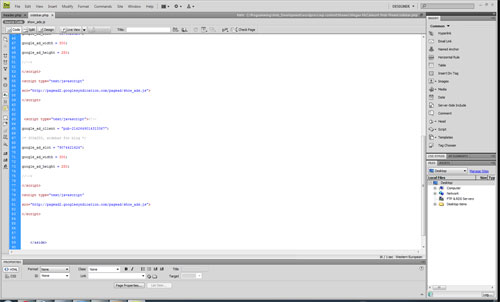
– You are now given your Adsense code. Pretty easy so far huh? Now is where it gets a little more customized based on where you want to place your Google ads. On my site I only have two on the far left under the navigation. For my site I had to find where my navigation was, (the sidebar.php file). I pasted all the code right above the closing tag. Save the page, and wait for up to 10 minutes for the ads to appear. If you have trouble figuring out where to place the adsense code, I’d be happy to help. Below is an example of the adsense code pasted in my sidebar.php page.
– Side note 1: Something I’ve noticed is that when I am trying to search for a specific area, I can pin point the issue better by using Firefox’s plugin “firebug.” This has been a life saver so many times, and will help you solve your problems so much fast. 🙂
– Side note 2: You will notice that when your ads show up on your site (give it 5- 10 minutes) some of your padding and margins will now be off. Go through your pages and make the CSS changes. Mine were mainly just adding margins and some padding.
I hope this will help you with when you choose to add Google Adsense to your website. I highly recommend it and if it can help you make some extra money on the side too that can’t hurt either. 😉
If I missed anything please leave a comment and let me know. I think I covered all the steps, but I could have left something out with out realizing it. I am sure there are other ways to go about adding adsense too. I know WordPress has plugins you can use to put in the adsense, but for me it was easier to to go directly through Google.
Stay tuned for my next post on adding Google Analytics. This is a great way to track the traffic to your site and you can see who visits you and from what sites.
Thanks,
Megan